METALWORKING CLASSES BY OLIVER SAVAGE
CLASS OVERVIEW
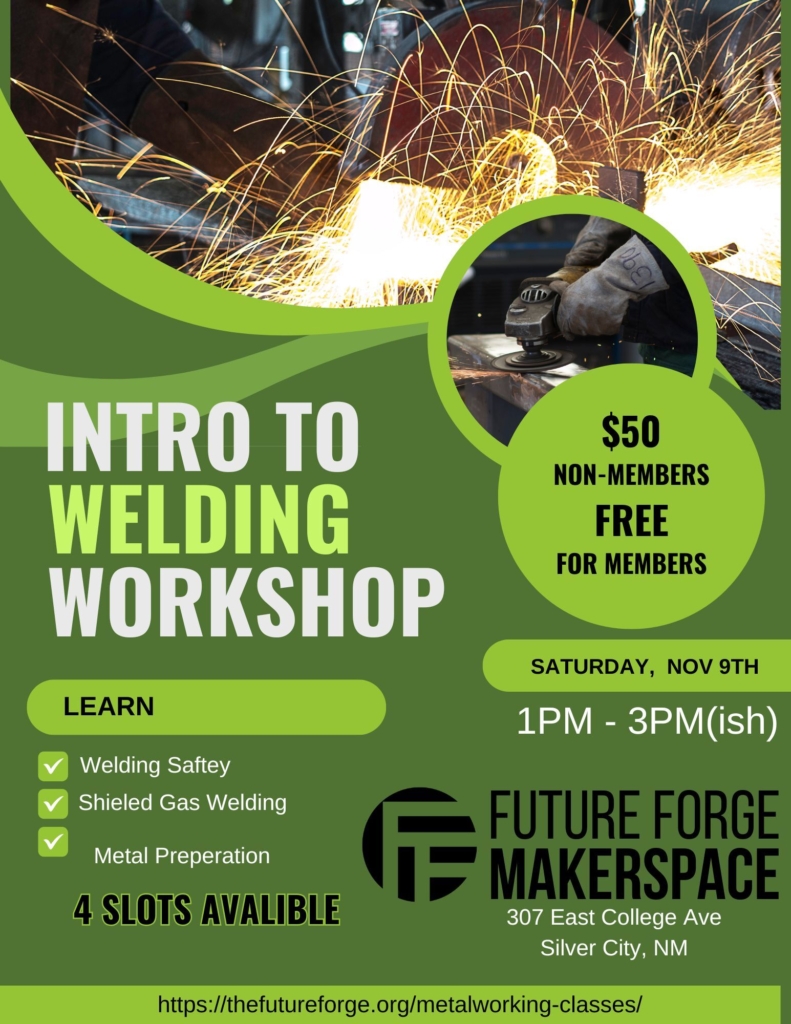
Discover the sparks that ignite creativity and craftsmanship in our welding class, where metal meets artistry. Whether you’re a novice or have some welding experience, our expert instructors are here to guide you through the fundamentals and beyond.
In this hands-on workshop, you’ll learn the essential techniques of welding, from mastering the art of creating strong, clean welds to understanding the different types of welding processes. Our state-of-the-art equipment and safe, supportive environment ensure that you can explore your passion for metalworking with confidence.
Join us at Future Forge Makerspace and unlock the potential to bring your ideas to life in metal. Let’s forge together!
Click, Drag, and Zoom to Explore the 360° Virtual Tour
Safety
Helmets how to use, manual vs auto-darkening, lenses must match type of welding being performed. Toxic gasses, and exposure under helmet mask. Welding with good ventilation and using exhaust devices like fans, hoods, and vents. Zinc and other coatings that can become toxic when welding. Setup to protect yourself and others. Stop to consider where sparks, heat, and molten spatter may go ahead of time. Locate all exits, alarms, and extinguishers before grinding/cutting and welding. Look around for any potential fire accelerants in the area such as fuel. If necessary use spark shields, even expedient setups can greatly decrease risk of fire.
Grinding and Cutting
Always wear eye and ear protection, understand that metal shrapnel can make it under lenses. Goggles and face shields are safer. Grinding and cutting creates both dust of metal and the coating on the metal. Air filtration or dust masks may be used to address this health concern.
Weld Material
What is a weld? A weld is a joining of two different metal pieces using three components: heat, gas shielding, and weld material. The heat can be created by an electrical arc, or by flame i.e. oxygen and acetylene. The shielding keeps the weld free of atmospheric gasses which weaken the weld. The shielding can be an inert gas or gas mix from a pressurized tank or a powder/coating on the outside or inside of the welding wire or rod. The weld material is formulated to match the type of steel, aluminum, brass, alloy, etc that you are welding.
By heating the metal pieces and weld material just below their melting point we are able to fuse the metal together. This is a molecular level bond when done correctly. However the weld is generally more brittle than the original metal due to loss of temper by the heat used to weld.
Preparation
Cutting your pieces to length and shape, cleaning the area to be welded, creating the channel to be welded. Types of welds, butt, fillet, plug, and groove. There are many specific terms and categories that the weld shapes can be broken down into. The important thing to understand is how the shape and length of the weld(s) meet the requirements for the final product.
If the finished piece is structural or not will determine what types of welds to use. Remember the shape of the weld not only determines where the added weld material is deposited, but the three dimensional profile of the heat used to fuse the metal together. The surface being welded should be clean and free of rust, paint, or other coatings. The area around the weld should be clean up to the distance that the heat will vaporize any coatings. You may want to perform a test before doing large amounts of welding on any material.
There are many ways to achieve a good clean surface for welding, the most common when starting out will probably be by use of an abrasive such as sand paper or a grinding disk with an angle grinder. Wire wheels, steel wool, acids, ovens, and sand blasting are some of the other popular ways to clean metals.
Planning and Body Positioning
When welding it is important to be able to safely hold your body steady while also retaining the stamina to continue working. It is highly recommended that you get in the habit of pre-planning where you will position your body, how you will hold the work pieces, and the order for each action you will take. By practicing this method of welding you will save yourself time, reduce mistakes, and increase safety.
Holding the pieces to be welding will also be important, as this may interfere with your planned movements. Learn to use clamps, vises, magnets, weights, jigs and tack welds to achieve the desired result.
Welding
Types of metal and matching the welding material (wire, rod). file test, metal punch test, spark test. Rockwell hardness ratings. Shapes of metal, bar stock, angle iron, tubing, and square tubing. Sheet and plate, cold roll vs hot roll. Retailers of steel are great sources for up to date information on steel shapes, sizes,
weight, and prices.
The type and thickness of the metal being welded will determine what type of welding material you will use. These factors will also determine the settings on your arc welder or gas torch. Most arc welders have a table that you can use to help you adjust the settings to achieve a good weld. There are many books and informational websites online that can also guide you to setup your welder.
Welding continuously in one area can dump large amounts of heat into the surrounding material. This can cause problems as it affects electrical conductivity, ignites coatings, detempers a larger area, and may melt the original material. It may be better to split your welds up, weld on different parts of a larger assembly, or wait for the heat to lower. Using fans, stands, or grid based surfaces may help with heat control. The heat from welding also contributes to expansion and tension, which can have negative impacts on the final product. Testing and planning, tack welding, and heat control will mitigate problems from metal movement during welding and cooling down.
For this introduction to welding we are using a gas shielded wire feed arc welder. The wire we are using is good for mild steel, chromoly, and some other common steel alloys. With such a welder we are limited to welding material thickness. Before welding we must ensure the gas mixture is on and set to the correct PSI. The recommended settings control the rate at which the wire is fed and the power being supplied to the arc (heat). Sometimes you may find that changing the settings up or down slightly will work better for the material you are welding.
When welding with the wire feed welder we want to comfortably be able to hold the welding handle. We also want to be able to keep the tip just above the piece that we are welding. When beginning a weld we place the tip just above the metal surface where the wire is barely touching. You may need to adjust the wire and cut it to an appropriate length before beginning. We start the weld by pressing on the button and make a movement with our hands that controls the molten metal bead or “puddle” that has formed.
The movement we make will be determined by our preference, the pieces we are welding, positioning of ourselves and the piece, and the type of welder and welding wire we are using. However it is important the our movement manipulates the puddle so that it evenly moves to each edge of the joint being formed. Common techniques include zigzags, a T, repeated triangles, or c/ shapes. Find what works for you, and be willing to experiment when it doesn’t work.
After welding we may want to clean the weld up, a quick cleaning may be accomplished with a wire brush. Using an angle grinder and other abrasive tools you can achieve a surface that may be indistinguishable as different pieces of metal. Cutting or grinding into your welds will also give you information about the quality of your weld. If the weld is full of pockets and areas of unfused metal, you need to change a variable in your process.

