TEXTILE CLASSES BY LEAH KLEARMAN
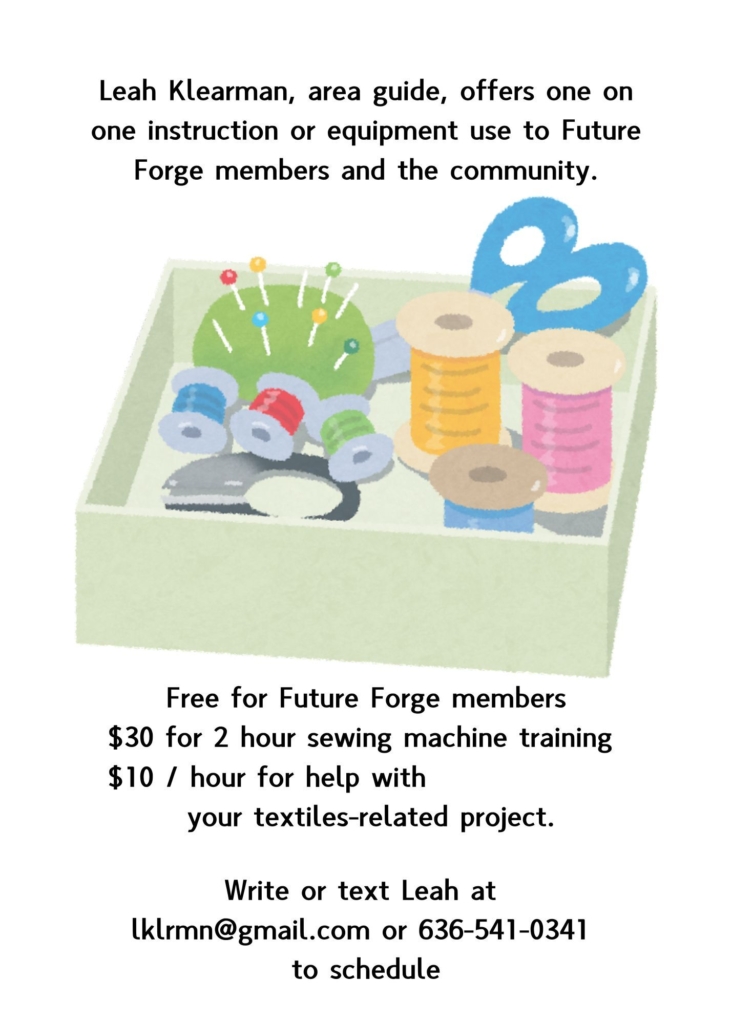
CLASS OVERVIEW
Have a sewing project that got stalled in the middle? Do you work better when you’ve got someone to chat with while you work? Need some equipment you don’t have at home? Simply can’t thread your needle? Bring your project to Projects Half Done 1-3pm on second Saturdays. Free for Future Forge members, $5 per visit for community members. No registration required.
Click, Drag, and Zoom to Explore the 360° Virtual Tour
Textile Area General Safety Rules
Members assume responsibility for themselves and the equipment use. Please use common sense and if you have questions/concerns do not hesitate to ask!!
- Keep long hair / loose garments away from machines, sharp items and iron!
- Do not use machines / items you have not been cleared on.
- Please keep food and beverages sealed / away from machines.
- Do not leave cords across walking areas.
- Turn off all machines (including iron – please unplug) when you leave.
Sharp Objects
Needles & Pins
- Keep pins on the pin cushion / magnetic keeper when not actively using them.
- Store needles in pin cushions, corks, or other items specifically designed for needle storage.
- Safety pins that look bent are specially designed for pinning multiple / thick layers, and are commonly used in quilting.
Scissors
- Keep scissors closed and pointing away from you when not in use. When handing sharp items to another person, always do so with its handle towards them.
- Do not use sewing scissors to cut anything other than fabric / textiles / thread.
Cutting Wheels and Mat
- Always cut away from you.
- Use a straight edge as often as possible.
- Keep fingers on the straight edge and away from cutters.
- Always close blade cover after use.
- Use the correct mat for the project – do not cut directly on the work table.
Iron
- Only touch iron using its handle, it can burn you!
- Keep your fingers and face out of the steam path of the iron, and be careful touching fabric freshly ironed – it’s often still very hot!
- Always check the temperature setting and use the correct setting for the fabric.
- Use the iron on an ironing board or specifically designed pad / tool.
- Rest iron on its heel, on stand, or approved pad, NEVER plate down on any surface.
- Only use distilled water in the iron.
- Always unplug after use.
In addition to a regular ironing board, we also have an ironing ham, a point form, and a velvet ironing needle board. Limited quantities of spray starch are available.
- domestic sewing machine (brother XL-5340, Singer Classic)
- interlock machine (brother Lock 1034D)
- embroidery machine (Singer Futura SES 1000)
- blind stitch machine (TACSEW)
- grommet setter
- ironing board, irons, ,specialty ironing tools, starch
- cutting matts, straight edges, scissors, cutting wheels, large layout table
- pins, snips, measuring tapes
- knitting needles, crochet hooks, needlepoint frames
- macrame
- books on textile arts
- and of course, needles and thread
Tool Description:
The table saw is useful for ripping and cross-cutting all types of wood, but the piece being cut should be less than 2 3/4″ thick (this allows for about 1/4″ to 1/2″ of the blade above the surface of the piece being cut). There is a rip fence & push tools for rip cuts, and a miter gauge for cross-cuts.
Tutorials & Training Materials:
Manual:
Tool Description:
The miter saw is used for accurate cross-cutting wood stock with a maximum width of about 10″ and a maximum thickness of about 2.5″. The name refers to a very useful feature, (cross) cutting accurate angles (30-150 degrees) or miters across a board by adjusting the angle of the blade with regards to the saws fence. The miter can also cut bevels up to 45 degrees, but adjusting the tilt of the blade. When simultaneously cutting both a miter and bevel cut it is called a combination cut. The miter saw is useful for cutting long pieces of stock, (crown or floor) molding, and picture frames.
Tutorials & Training Materials:
Manual:
https://manuals.harborfreight.com/manuals/57000-57999/57839-193175424181.pdf
Tool Description:
The bandsaw is useful cutting pieces that need gently curved features. At this time there is no fence that can be used with either bandsaw, once the fence is made for the large bandsaw then it could be used for ripping thick rough-cut timber up to 8″ tall.
There is a benchtop bandsaw that is useful for smaller, more detailed cuts.
Tutorials & Training Materials:
Manual:
https://www.mikestools.com/download/Jet-Owners-manuals/Jet%20Bandsaws/JWBS-18X-Rev%20A.pdf
Tool Description:
Woodworking jointers are used to make one face/surface of a board and one adjacent edge/surface perfectly flat and square to each other. Jointers are useful for flattening out boards with twists, cups, bows, and uneven surfaces and preparing rough lumber. A jointer are used along with a planer and a table saw when a board is prepared to be 4-square (4s), a board that all four adjacent surfaces are square to each other.
Tutorials & Training Materials:
https://www.wwgoa.com/video/using-a-jointer-safely-000284/
Manual:
Tool Description:
The Thickness Planer is typically used after a jointer (surface planer) has created a flat surface on a piece of lumber (or with lumber that has a reasonable flat surface). The planer is used to create a parallel surface (to the jointed surface), it removes small layers, planing, from the top surface of the wood as it passes under the feeding wheel(s) and cutting blades of the planer. The cutting blade height control is manually set before each cut, the lumber being planed is repeatedly passed through the planer removing small (typically <1/16″) amounts of thickness with each pass and for creating a piece of wood with a specific thickness/height.
Tutorials & Training Materials:
Manual:
https://www.mikestools.com/download/Delta-Planer-Owners-manuals/22-540.pdf
The stationary (bench top) belt sander is excellent for quickly/aggressively sanding surfaces. The materials being sanded may be wood or non-ferrous metals. Since the sanding is aggressive, belt sanders are typically used in the beginning stages of the sanding process and can be used to shape the sanded surface.
Tutorials & Training Materials:
Manual:
https://www.mikestools.com/download/Delta-Planer-Owners-manuals/22-540.pdf
Tool Description:
- A fence is used, with the router bit partially emerging from the fence. The workpiece is then moved against the fence, and the exposed portion of the router bit removes material from the workpiece.
- No fence is used. A template is affixed to the workpiece, and a router bit with a ball bearing guide is used. The ball bearing guide bears against the template, and the router bit removes material from the workpiece so as to make the workpiece the same shape as the template.
Tutorials & Training Materials:
Manual:
https://www.mikestools.com/download/Delta-Planer-Owners-manuals/22-540.pdf
Tool Description:
Tutorials & Training Materials:
Tool Description:
Tutorials & Training Materials:
Manual:
https://cdn.shopify.com/s/files/1/0012/0350/3168/files/6510T.Manual.20190116.pdf?237